Figure 2.8: Loading the sample images
This section quickly builds an infrared reflectogram mosaic using the sample images that come with nip2. See Chapter 3 for detailed coverage.
Click on File / Open Examples. You should see a directory called 1_point_mosaic. Doubleclick and you’ll see a file called 1pt_mosaic.ws. Doubleclick that and you’ll load the workspace for this example.
If you’d rather make the workspace yourself, click on the file type filter and select All files. A set of 8 images should appear. Click on the first file, shift-click on the last, and click Open. This will create a group of all eight images. Right-click on the row and select Ungroup to unpack to a set of rows. See Figure 2.8.
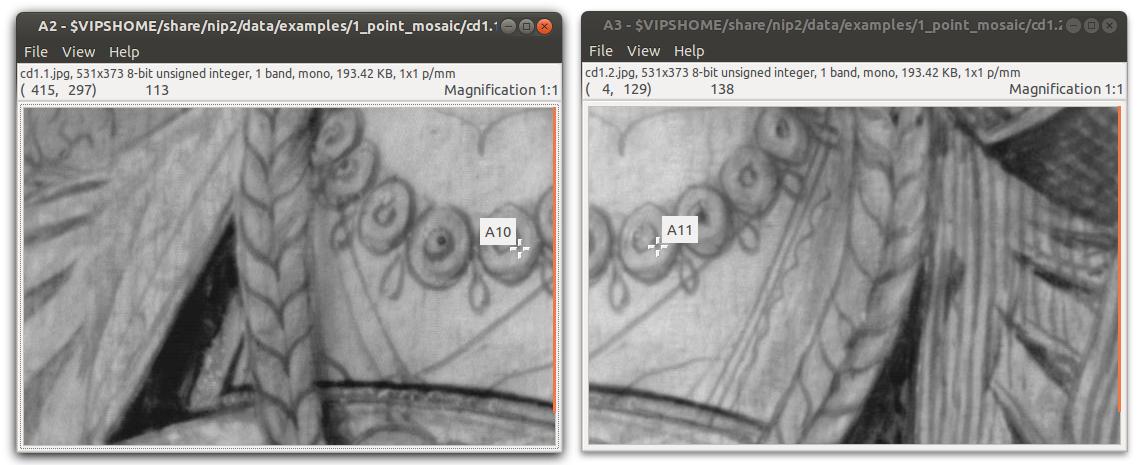
The images have been named to match their positions in the mosaic, so for example cd2.1.jpg is the first image in row two. Open up viewing windows for the first two images by double clicking on the thumbnails. Move the two opened images viewers so that they are side by side. Adjust the zoom (using the i and o keys) and the pan (by dragging with the middle mouse button) so that the overlap area is visible in both images.
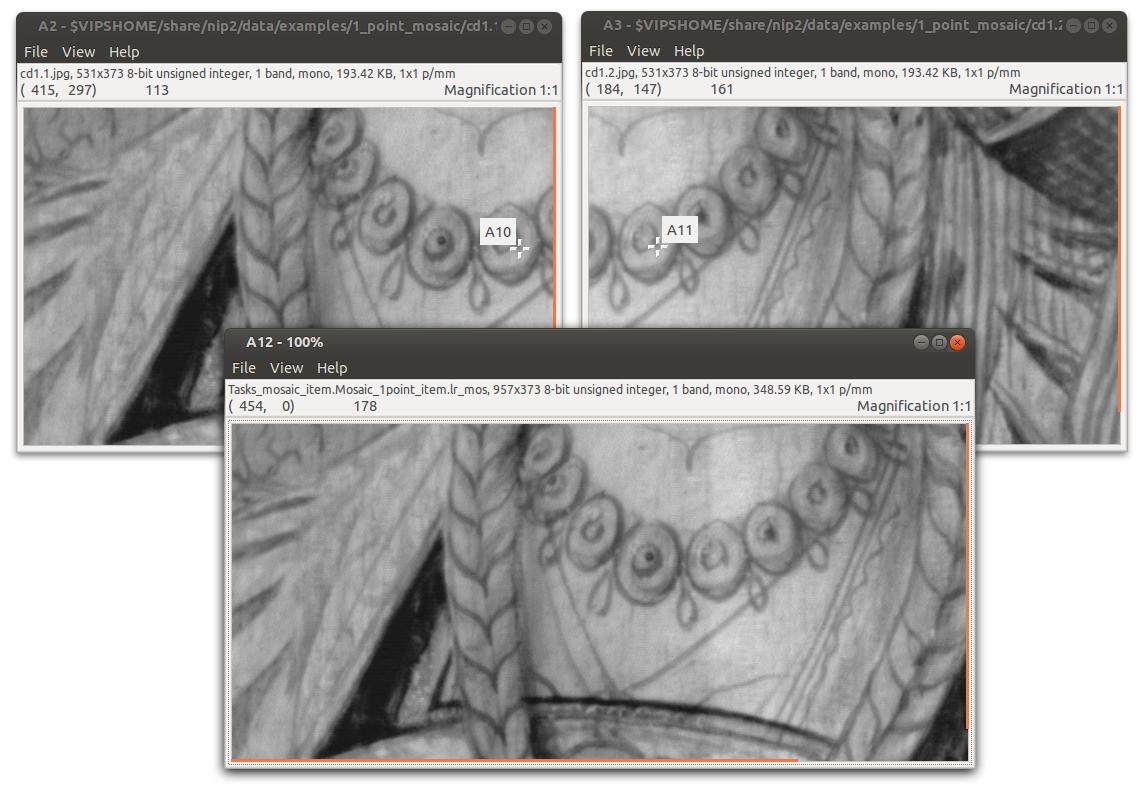
Mark a tie-point on each image by Ctrl-left-clicking on a feature you can see in both images, see Figure 2.9. Move a point after you’ve marked it by dragging on the label. You don’t need to be exact: nip2 just uses the point you select as the start point for a search. It can cope with misses of up to about 10 pixels. To mosaic the two images together, click on Toolkits / Tasks / Mosaic / One Point / Left to Right. See Figure 2.10.
Picking items deep in the toolkit menu is fiddly, so nip2 has several shortcuts. First, you can tear off any toolkit menu by clicking on the dotted line at the top. Secondly, you can assign any keyboard accelerator to any menu item. Navigate to the menu item and while it is selected, press the key combination you want to use as a shortcut (for example, Ctrl-L might be good for Mosaic / One Point / Left to Right). Now whenever you press Ctrl-L with the keyboard focus in the main window, you will do a left-right mosaic join. Finally, you can use the toolkit browser to display a selection of the tools in a pane on the right-hand side of the main window. Click on View / Browse Toolkits, then type “mosaic” into the search box at the top. The toolkit browser will display all items related to mosaicing. Double-click an item to do that action.
Some systems won’t let you edit menu shortcuts by default. For example, on GNOME, you need to enable this in System / Preferences / Menus & Toolbars.
Join the rest of the pairs of sample images together left-right. Once you have made all the rows, join the rows together in turn to make the complete image using Mosaic / One Point / Top to Bottom.
When you’ve built the whole thing you’ll see that there are differences in brightness between the tiles that make up your composite image. You can fix most problems like this automatically by selecting your final mosaiced image and clicking on Mosaic / Balance. This operation takes your mosaic apart, examines the overlap areas for differences in brightness, calculates a set of adjustment factors to minimise these differences, and then rebuilds the mosaic.
There can be some problems left even after mosaic balance. Use Mosaic / Tilt Brightness to remove any left-right or up-down graduations in brightness.
Save your mosaic workspace for future reference by clicking on File / Save Workspace. To save just the mosaiced image, right click on the thumbnail and select Save As.